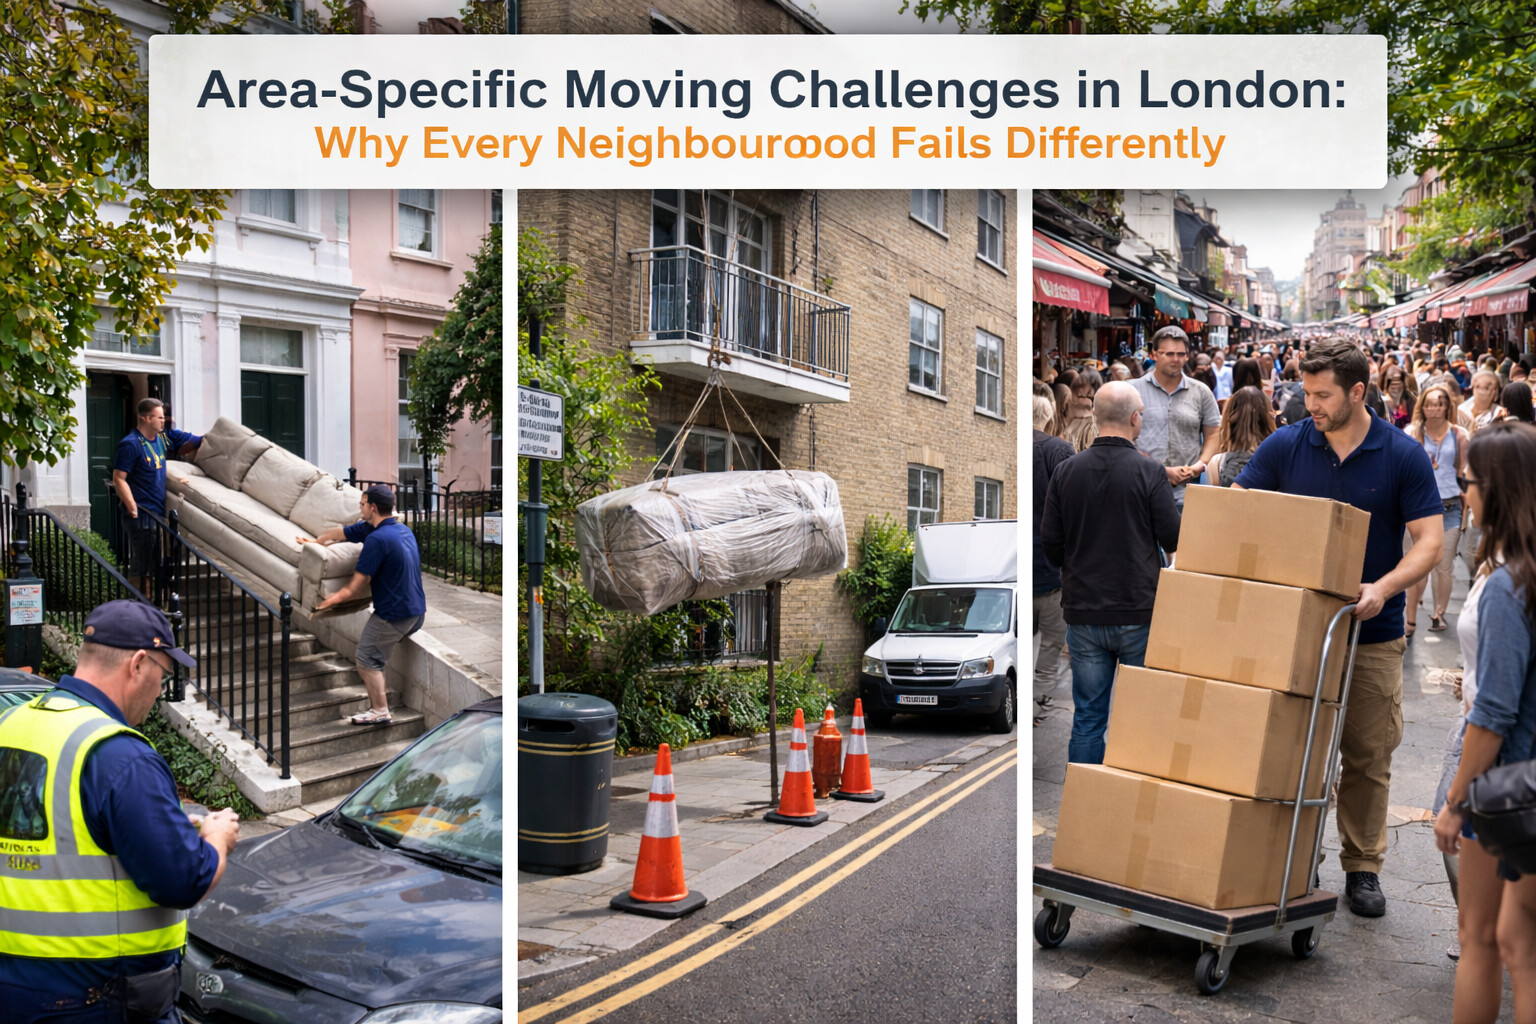

When people plan a move in London, they usually think in terms of boroughs or postcodes. In practice, London transport zones (Zones 1–6) are one of the clearest predictors of how a move will behave on the day.
These zones reflect density, enforcement intensity, access pressure, and traffic behaviour far more consistently than many administrative boundaries.
This guide explains how each London zone affects moving logistics, why zone awareness prevents common planning mistakes, and how to adjust expectations and strategy depending on where your move sits.
For the full set of area-based guides, visit the pillar page:
https://blog.xvan.uk/areas-location-guides/
Why London Zones Matter for Moving (Not Just Transport)
Although zones were created for public transport pricing, they closely correlate with:
- Residential density
- Street width and access
- Parking control intensity
- Enforcement presence
- Building types
As you move outward from Zone 1 to Zone 6, the nature of moving changes gradually but decisively.
Ignoring zones leads to:
- Underestimating access difficulty
- Overestimating speed
- Choosing the wrong service structure
Zone 1: Extreme Density, Maximum Restriction
What Zone 1 Is Like
Zone 1 covers the most central parts of London, including:
- Major business districts
- High-tourism areas
- Dense mixed-use streets
From a moving perspective, Zone 1 represents the highest restriction environment.
Moving Reality in Zone 1
- Parking is extremely limited
- Red routes and camera enforcement dominate
- Loading windows are short and specific
- Carry distance is often long
- Moves are time-window dependent
Even very small moves can become complex.
Planning Implications
- Parking suspensions are often essential
- Timing must be exact
- Flexible services are critical
Zone 1 moves fail more often due to access denial, not labour issues.
Zone 2: Residential Density with Central Enforcement
What Zone 2 Is Like
Zone 2 blends dense residential streets with strong central enforcement influence.
Common characteristics:
- High flat and apartment concentration
- Controlled Parking Zones
- Active enforcement
- Mixed residential–commercial use
Moving Reality in Zone 2
- Parking may exist but be time-limited
- Lift access becomes common
- Enforcement remains strict
- Traffic is heavy but predictable
Zone 2 moves often look easier than Zone 1 — but only marginally.
Planning Implications
- Street-level checks are essential
- Lift booking matters
- Buffer time is still required
Zone 3: The Transition Zone
What Zone 3 Is Like
Zone 3 marks the transition from inner-city density to suburban patterns.
You will typically see:
- Mixed housing types
- Wider streets in some areas
- Less intense enforcement (but still present)
Moving Reality in Zone 3
- Parking becomes more achievable
- Houses appear more frequently
- Flats are still common near stations
- Traffic eases slightly
Zone 3 is where planning quality starts to matter more than enforcement pressure.
Planning Implications
- Van size selection becomes important
- Volume starts to matter more
- Parking planning remains relevant but not always critical
Zone 4: Suburban Structure, Larger Moves
What Zone 4 Is Like
Zone 4 is predominantly suburban.
Typical traits:
- Semi-detached and detached houses
- Driveways and dropped kerbs
- Larger household volumes
- Fewer flats
Moving Reality in Zone 4
- Parking is usually manageable
- Loading is faster
- Item volume increases significantly
- Distance becomes more relevant
Moves shift from access-driven to volume-driven.
Planning Implications
- Correct van sizing is crucial
- Labour needs increase due to item count
- Time overruns come from volume, not access
Zone 5: Space Improves, Distance Increases
What Zone 5 Is Like
Zone 5 expands outward with:
- Lower density housing
- Larger properties
- Longer travel distances
Moving Reality in Zone 5
- Access is generally straightforward
- Parking is rarely the main issue
- Drive time becomes a key factor
- Moves are physically larger
Zone 5 moves feel easier but can be physically demanding.
Planning Implications
- Route planning matters
- Loading efficiency matters more than access
- Labour fatigue becomes a factor
Zone 6: Outer Edge, Maximum Volume
What Zone 6 Is Like
Zone 6 represents the outer edge of Greater London.
Characteristics include:
- Large family homes
- Generous street access
- Minimal enforcement pressure
- Long distances
Moving Reality in Zone 6
- Access is rarely an issue
- Volume is often high
- Drive time dominates the schedule
- Multiple trips may be required
Zone 6 moves are logistically simple but physically large.
Planning Implications
- Large vans or multiple vehicles may be needed
- Time must be allocated for travel
- Labour scheduling is critical
Zone-by-Zone Comparison
| Zone | Main Challenge | Primary Risk |
|---|---|---|
| Zone 1 | Access & enforcement | Denied loading |
| Zone 2 | Density & control | Time overruns |
| Zone 3 | Mixed conditions | Wrong assumptions |
| Zone 4 | Volume | Underbooking |
| Zone 5 | Distance | Fatigue & timing |
| Zone 6 | Size & travel | Inefficient routing |
Each zone punishes different planning mistakes.
Mixed-Zone Moves: Where Problems Multiply
Many moves cross zones, such as:
- Zone 2 → Zone 5
- Zone 4 → Zone 1
In these cases:
- The most restrictive zone sets the rules
- Planning must focus on the hardest location
- Easy access at one end does not offset restrictions at the other
Always plan around the toughest zone involved.
Common Mistakes People Make with Zones
- Treating all zones the same
- Planning by distance instead of environment
- Underestimating Zone 2 enforcement
- Underestimating Zone 4–6 volume
- Ignoring mixed-zone dynamics
Zone blindness causes predictable failures.
How to Plan a Move Using Zone Awareness
A zone-aware approach includes:
- Identifying origin and destination zones
- Adjusting expectations accordingly
- Matching service type to zone behaviour
- Allocating buffer time where needed
- Avoiding one-size-fits-all assumptions
Zones should guide planning, not just pricing.
Using Xvan for Zone-Based Moves
The Xvan app is designed to adapt to zone-driven moving patterns across London.
With Xvan, you can:
- Match services to zone conditions
- Adjust help levels for access or volume
- Avoid underbooking or overbooking
- Plan flexibly across mixed-zone moves
Download Xvan (UK):
https://xvan.uk
Xvan aligns services with how London zones actually behave, not averages.
Frequently Asked Questions
Are Zone 1 moves always the hardest?
Yes, in terms of access and enforcement.
Are outer zones cheaper?
Often, but volume and distance can offset savings.
Do zones matter more than boroughs?
Often yes, especially for predicting difficulty.
Can a Zone 3 move behave like Zone 2?
Yes, especially near major stations.
Final Summary
London Zones 1–6 represent six different moving environments. Each zone introduces its own constraints, risks, and planning priorities. Successful moves depend on recognising these differences and adjusting strategy accordingly.
Plan by zone behaviour, not assumptions — and most London moving problems disappear before moving day.